
Let's Make Snow Paint!
Let’s have some FUN and make SNOW PAINT! I first made this when my son Ryan was around three. We made it together and it had him busy for nearly an hour! Snow paint is just two ingredients plus some glitter if you are feeling fancy. It is a sensory type of paint that kids can use to make any snowy creations they want. I love that even this simple craft allows for memories of my son to flood back into my mind! Take a look at his chubby cute hands hard at work …

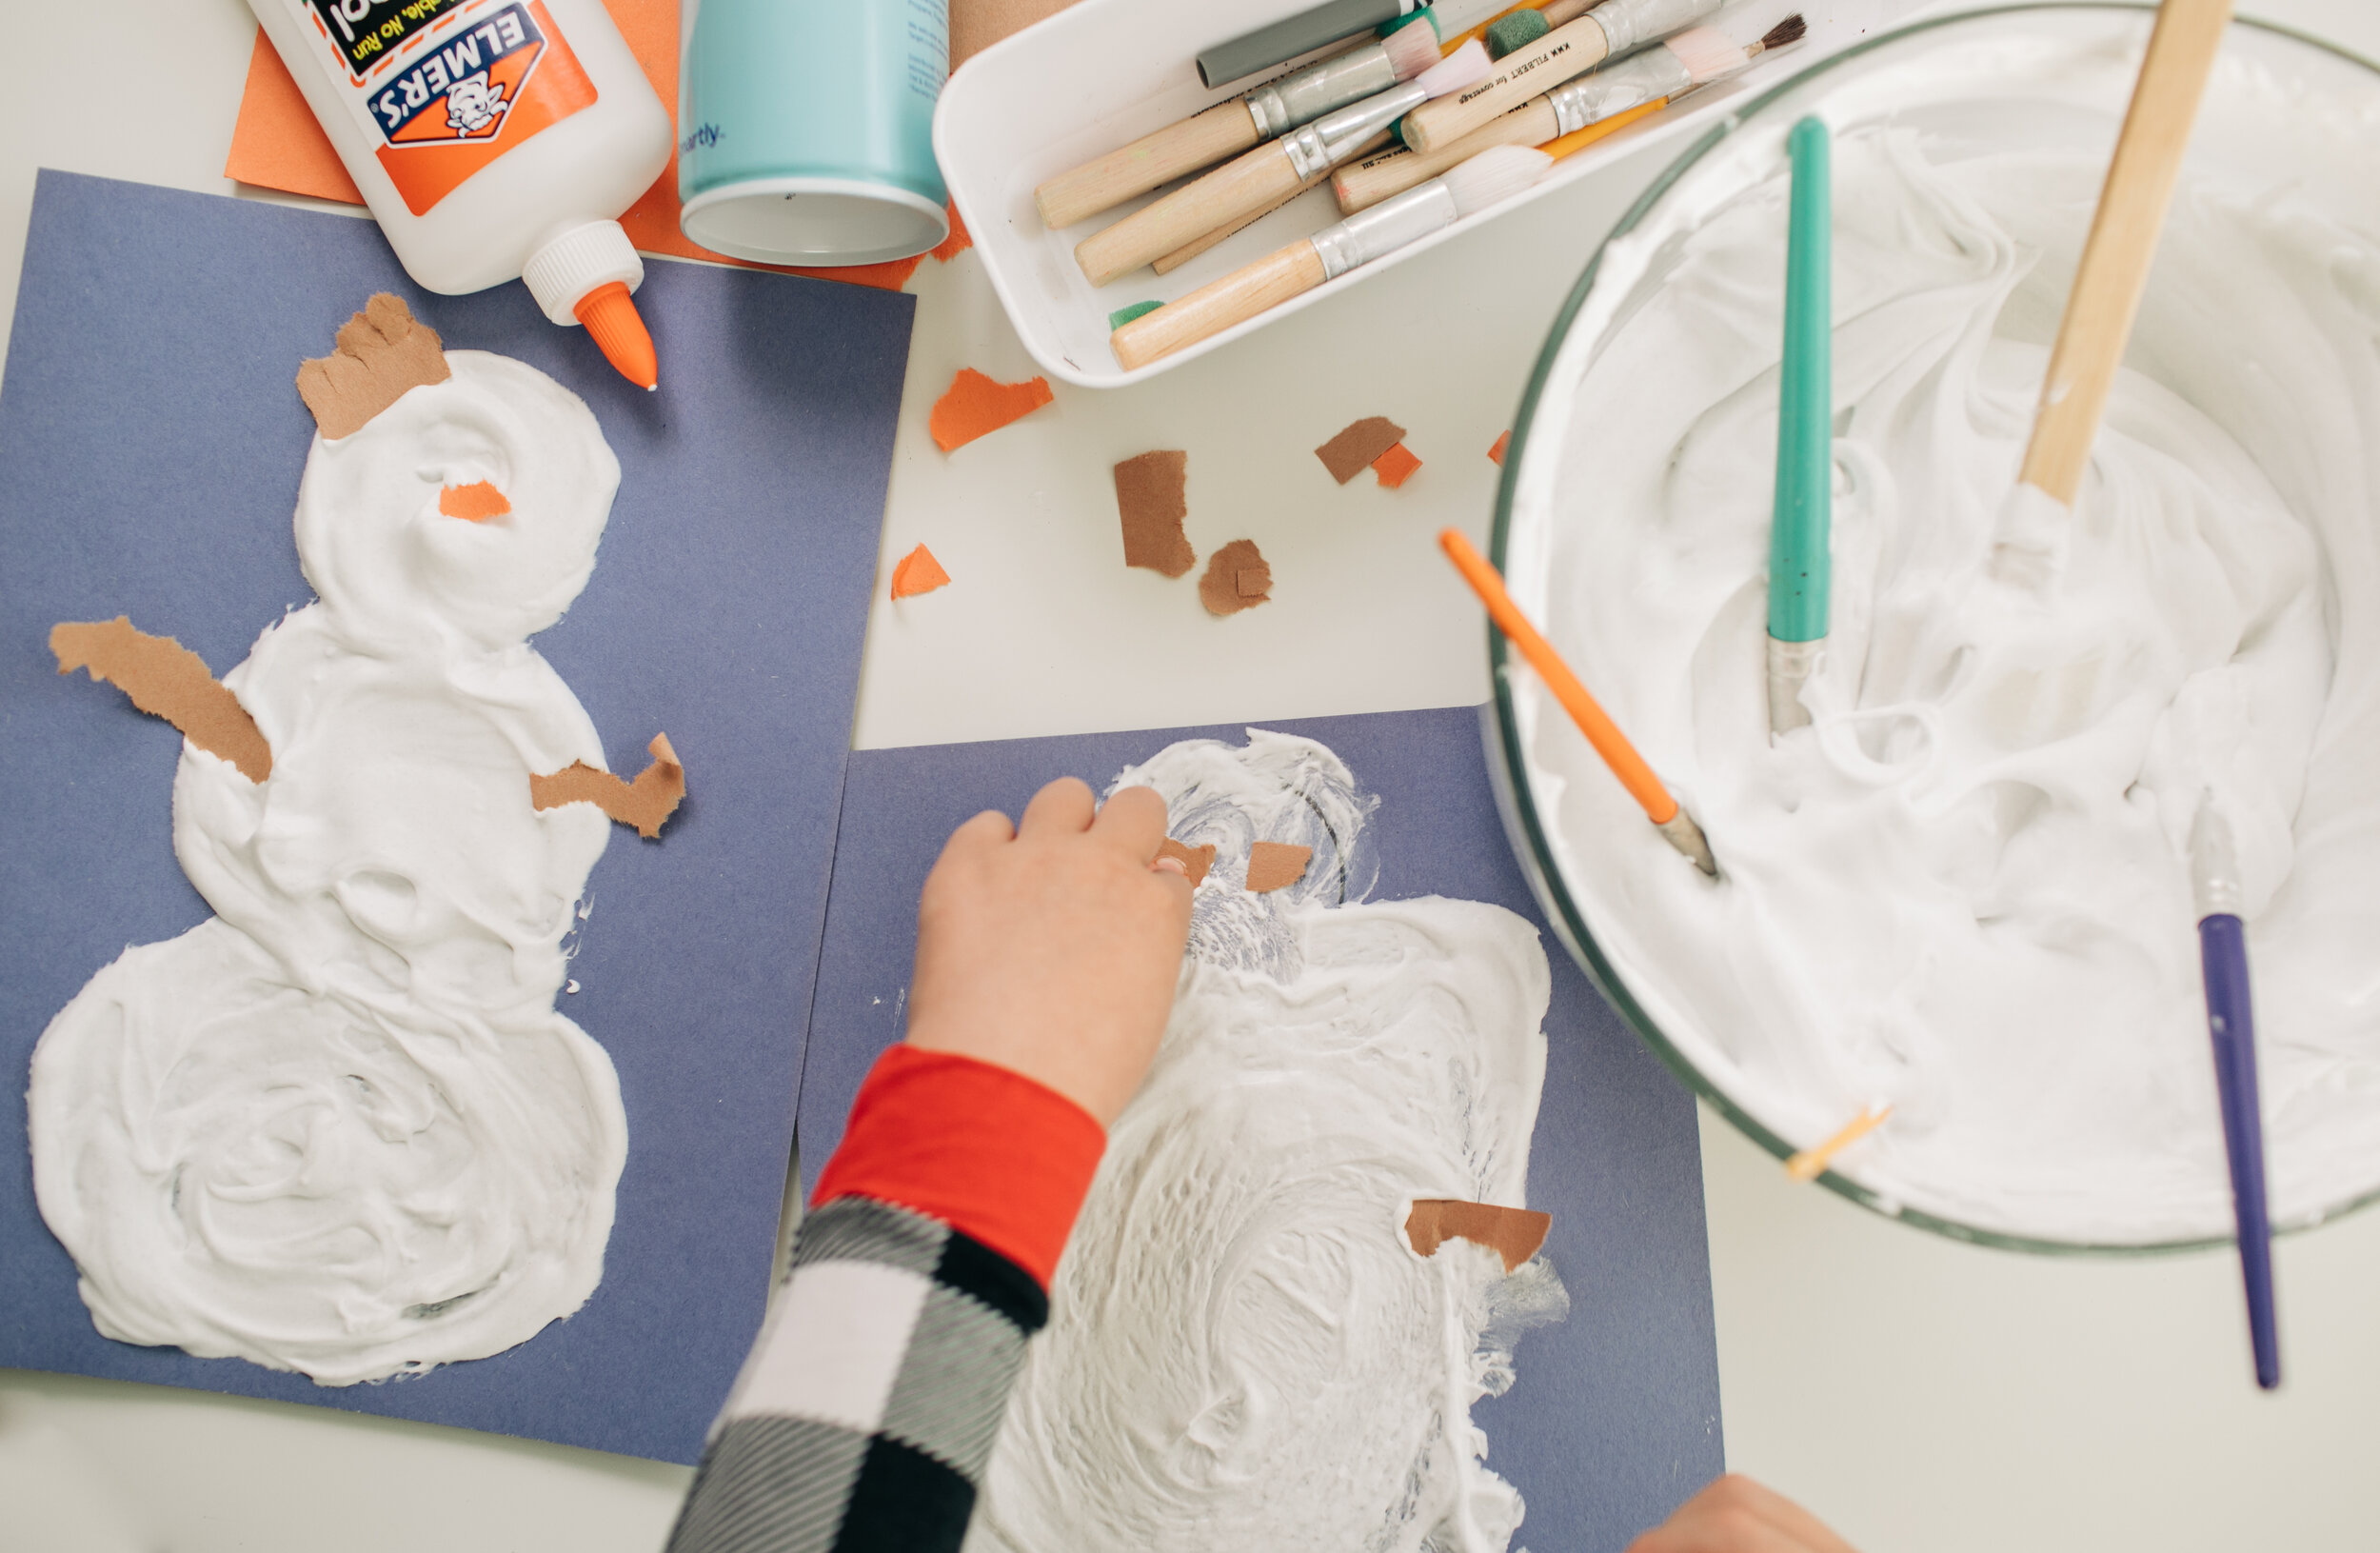
Here is a photo I took of Ryan having fun with our Snow Paint. He was three years old here.
Snow Paint is so much fun to paint with and it dries puffy! My kids love touching their creations after they have dried. My advice is to make a batch, lay out colored paper and some paper you and your kids can rip into pieces to add details. Like below, we ripped brown and orange paper to add snowman details. The options are endless!
If you are worried about the mess or if it will ruin your bowl and/or your paintbrushes it won’t! Just be sure to wash everything with warm water and soap afterwards.
We’d love it if you joined us this week to make Snow Paint! Please share on social and tag @babyboybakery and use the hashtag #craftwithbabyboybakery I’ll be choosing three people from the hashtag to send a sweet surprise to in the mail!
Find out how to make Snow Paint below and join us!
You’ll need equal parts white glue and shaving cream. Mix the two until they come together into a fluffy paint consistency.


To make it more festive you can add a bit of glitter!

Grab paint brushes, paper and get creative!

