Red Velvet Eyeball Cake Bites - A Halloween Themed Treat Anyone Can Make!
In our home we love a good cake bite or cake pop! Tasty little bites of cake coated in chocolate. You can make them in any flavor and they are honestly the easiest to put together! You can of course make these from scratch, but today I’m cutting all the corners and showing you how to make these with store bought items. They taste just as great and take no time at all. The best part, your little ones will love helping you and getting messy in the process. Try making these as a fun Halloween activity this weekend or for a Halloween party coming up! Find the how to below …
Red Velvet Eyeball Cake Bites
What You Need
Red Velvet Box Cake
White Candy Melts
Eye Ball Candy Decor
Red Royal Icing
Cream Cheese Frosting
What You Do
-Bake the cake as the box instructs you to do. Again, you can bake your own cake from scratch, but using box cake for these cake bites is beyond simple.
-Once the bake cools, crumble it into a large bowl. Be sure to let the cake completely cool before crumbling it. You need it to be completely cool before the next step so it doesn’t melt the frosting.
-Add icing and use your hands to create a dough like texture. I also used store bought icing for this! You only need about 1/4 cup or less to achieve the perfect dough like consistency. Start by adding 1/2 a tablespoon at a time and use your hands to mix it into the crumble cake. Keep adding the frosting until the cake comes together to form a cookie dough like texture.
-Use a mini scoop or 1 tablespoon measure spoon and roll the cake dough into balls. Chill the balls in the refrigerator while you do the next step.
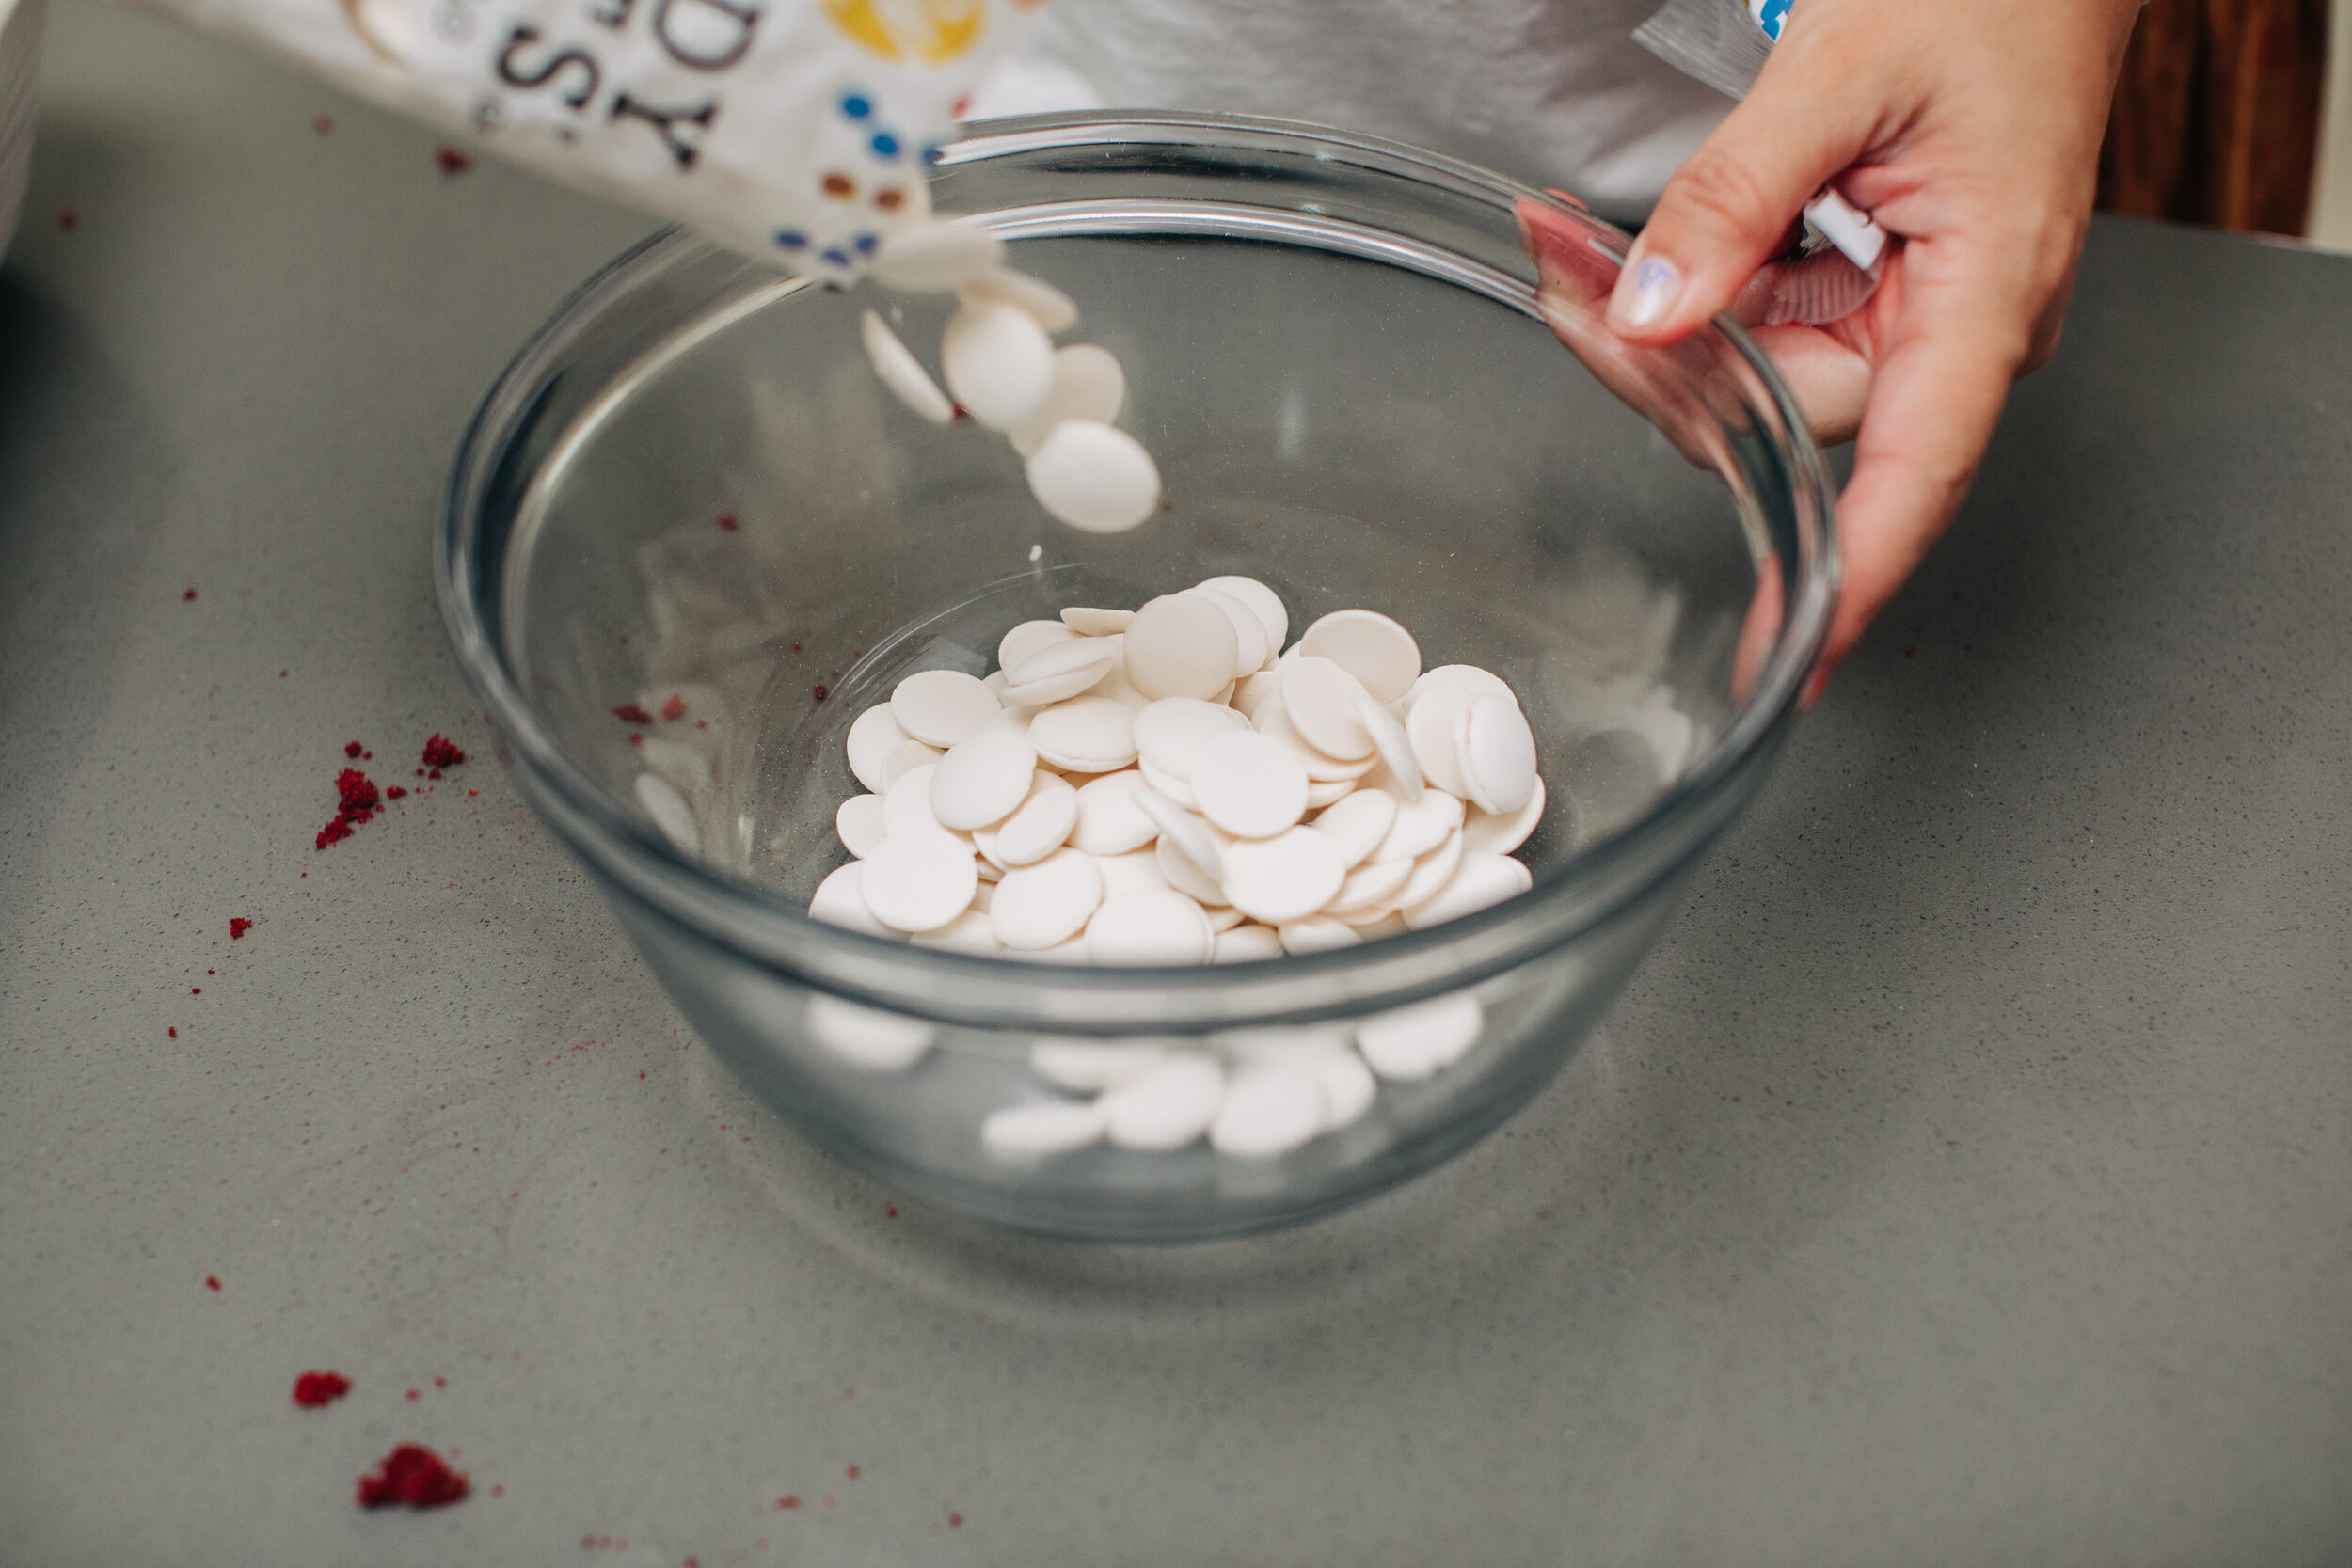
-The best time of chocolate coating to use for cake bites/pops are candy melts! They come in all different colors and you can get them at any craft store. I like to keep a few different colors in my freezer just to have on hand in case we want to creative in the kitchen.
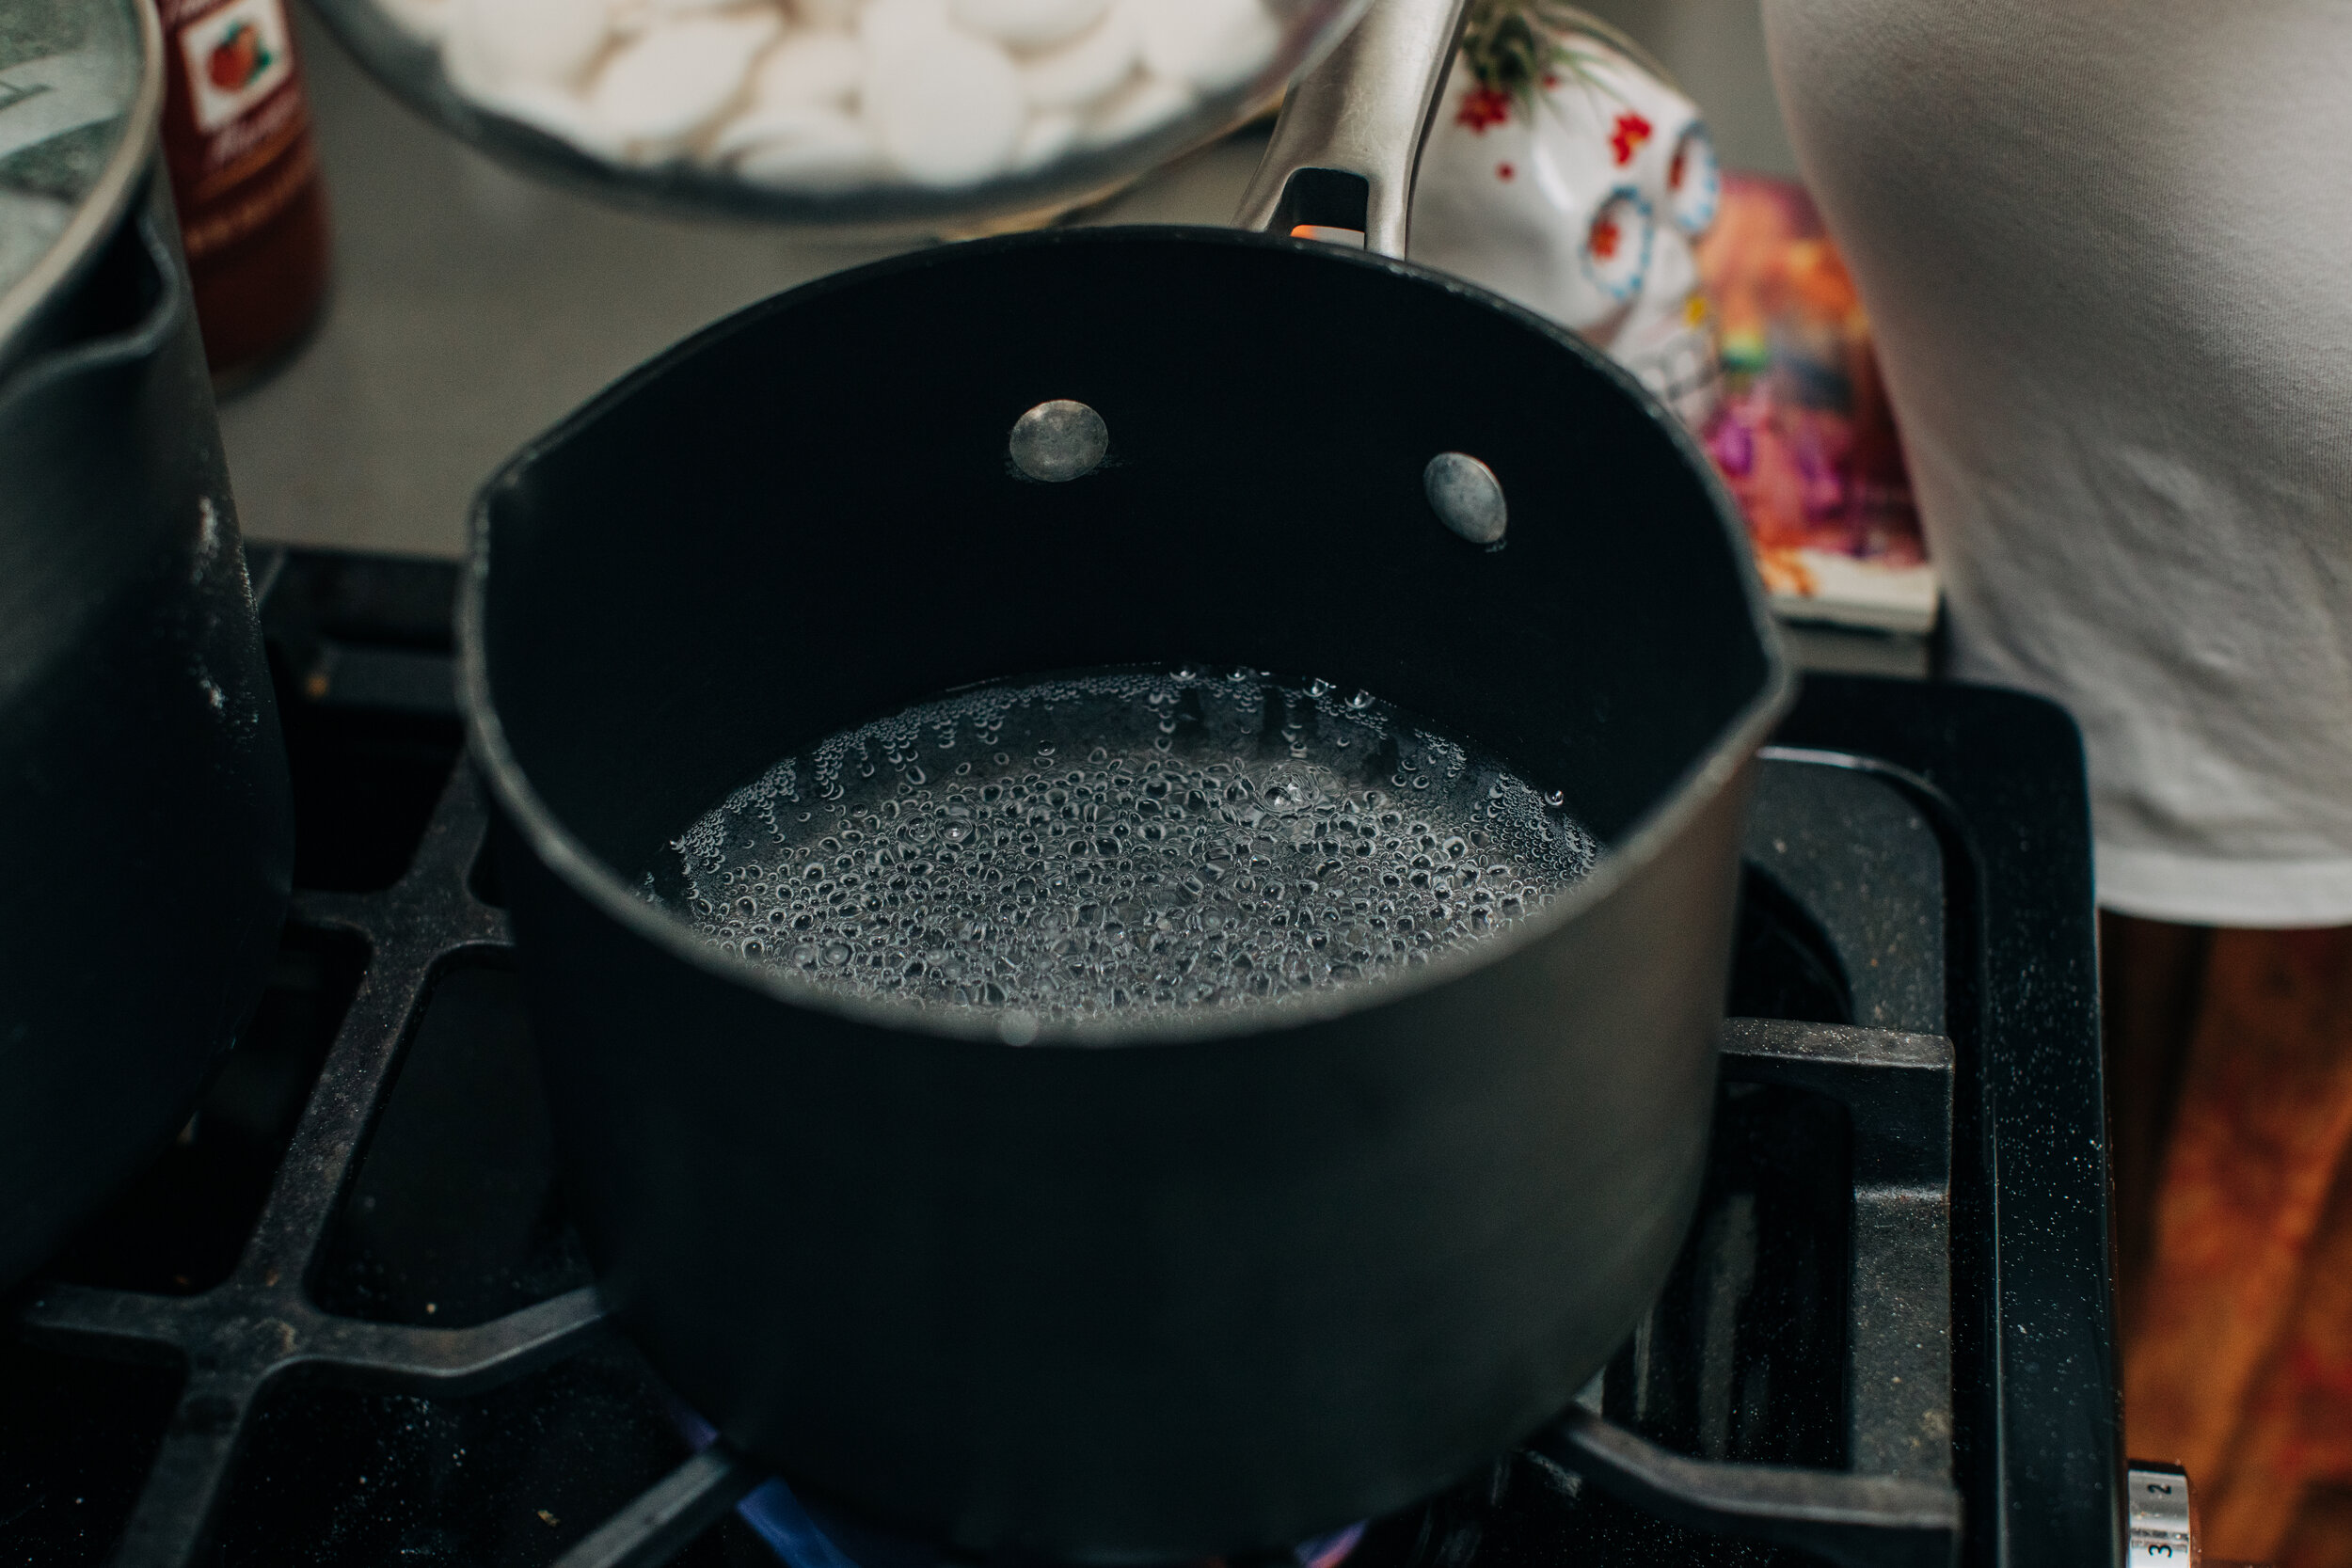
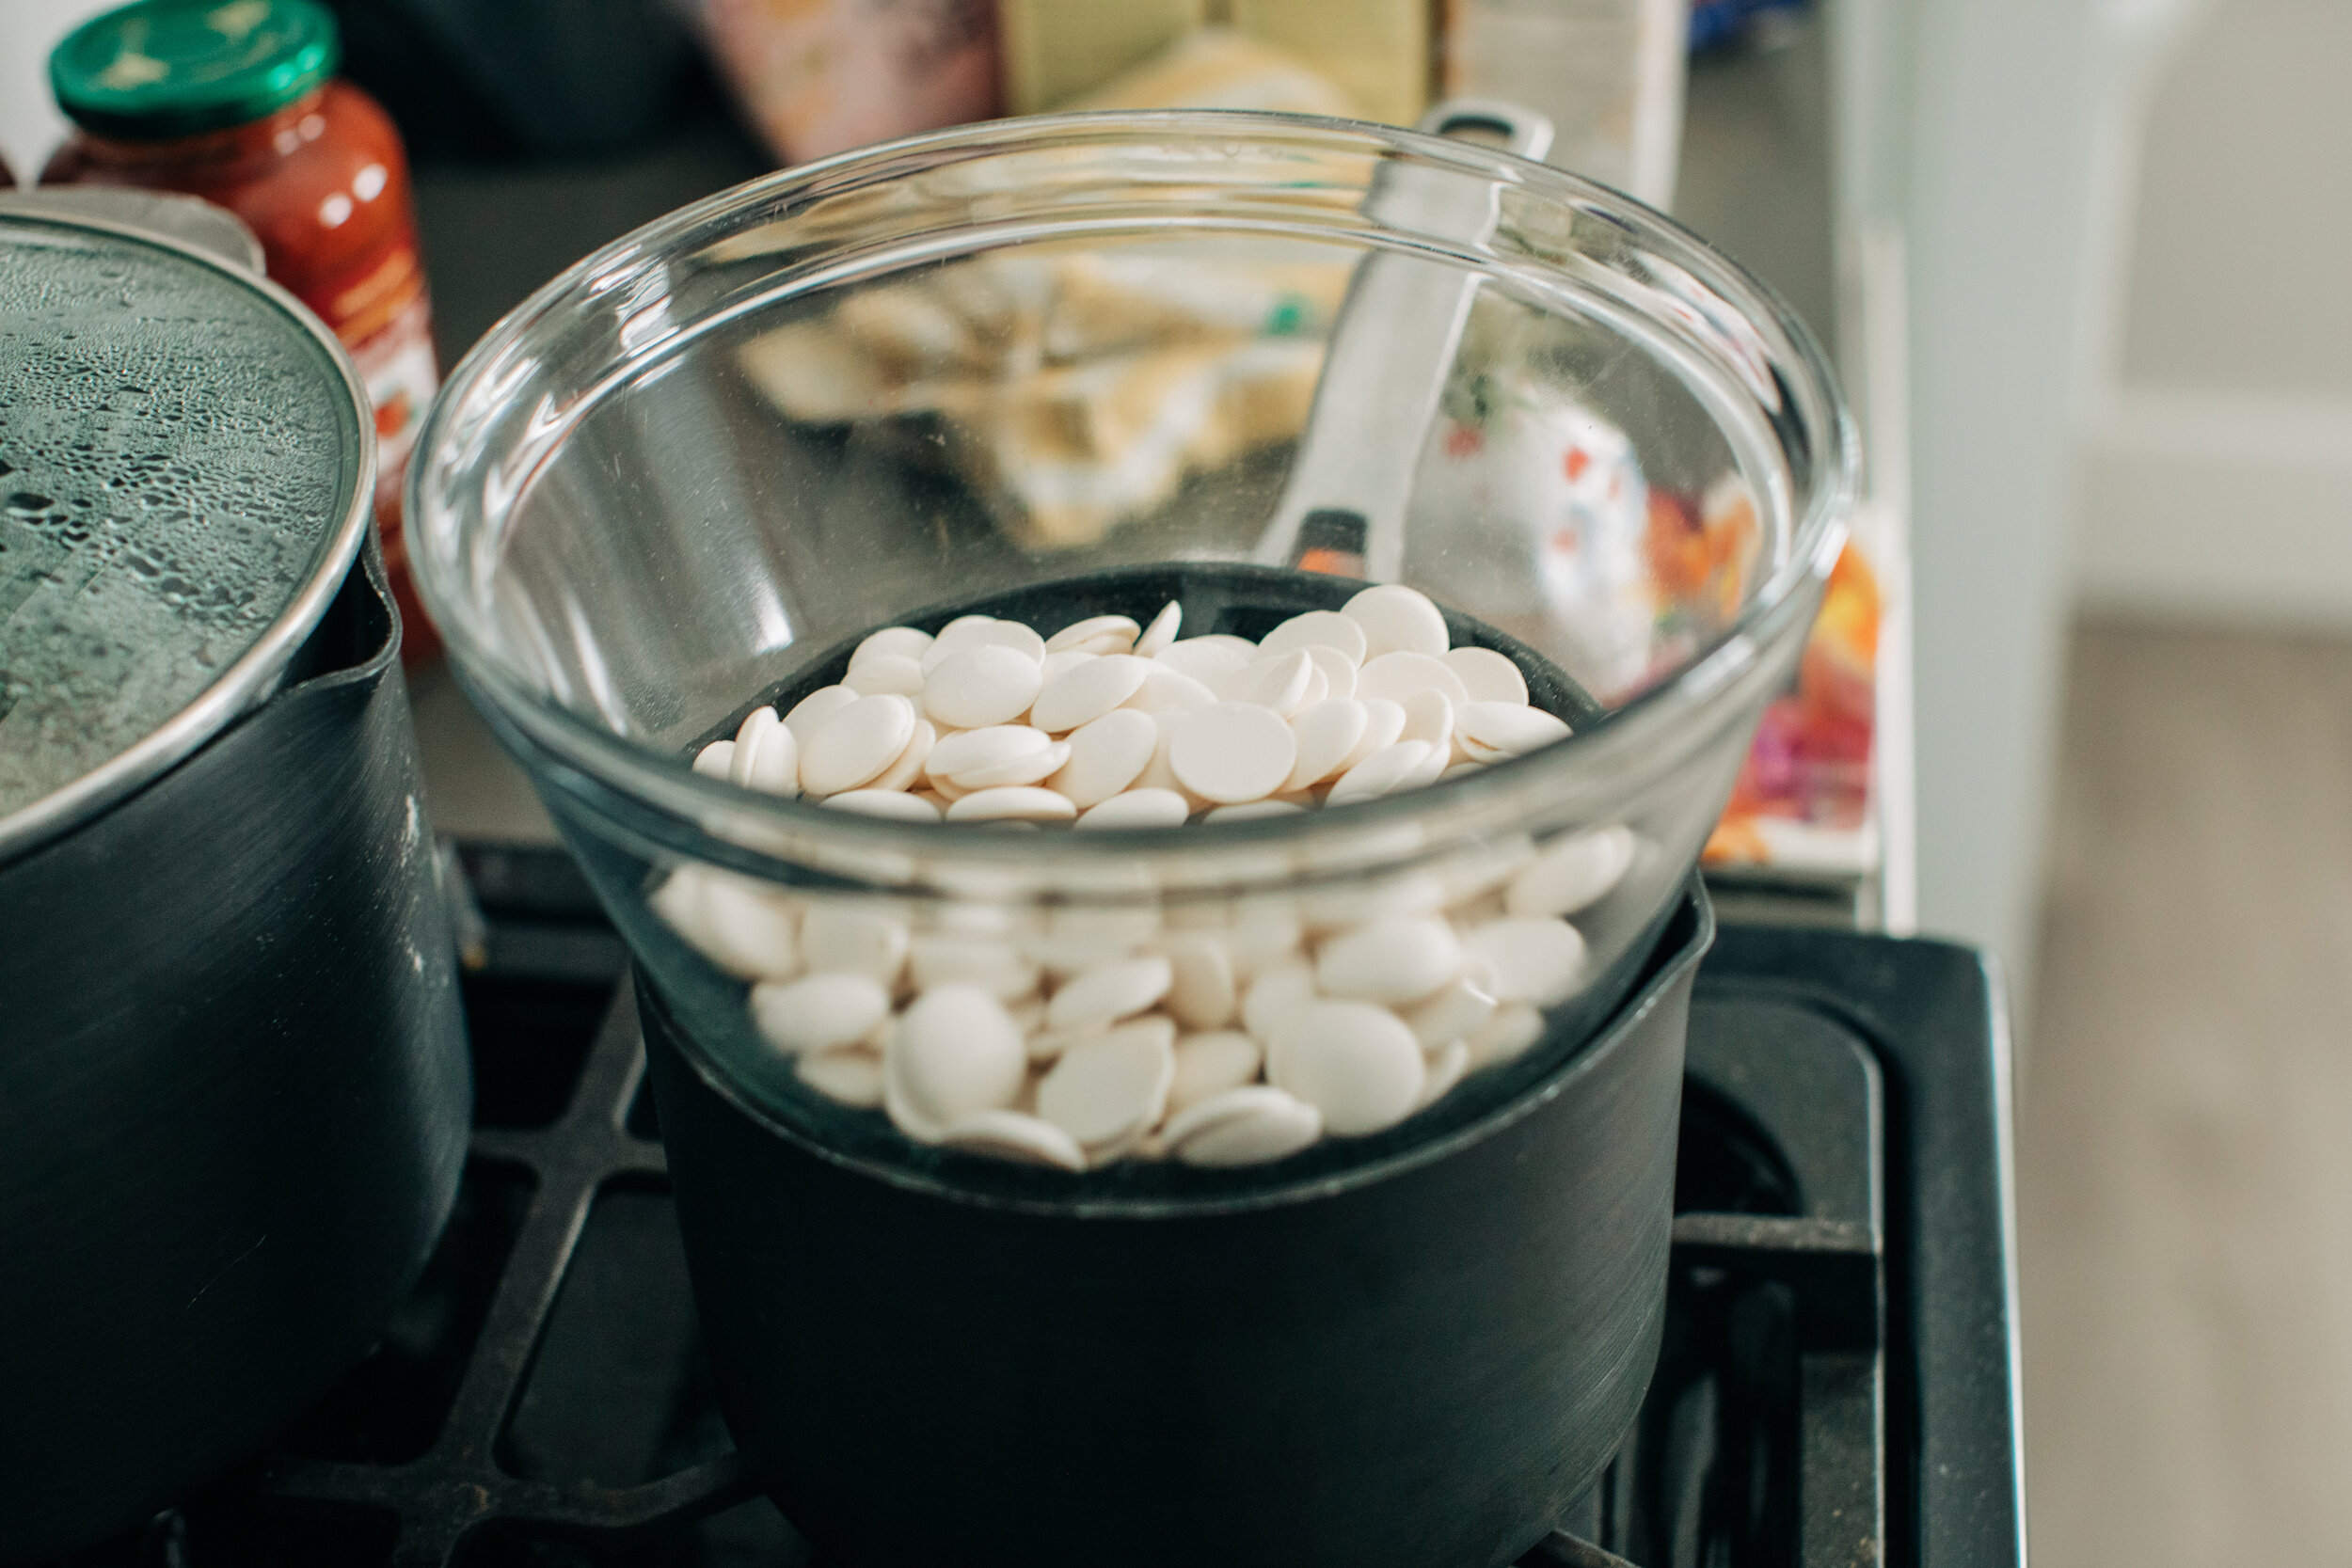
-The best way to melt the candy melts (and any kind of chocolate) is with a double boiler. To do this, fill a medium sauce pan about 1/4 full with water and bring to a boil. In a heat safe bowl pour your candy melts. Nestle the bowl of candy melts onto the boiling pot of water and turn the heat OFF. Let this sit for about 5-8 minutes. The steam from the boiling water will slowly melt your candy melts to perfection. If you find that after 10 minutes the candy has stopped melting. Remove the candy melts, boil the water again and repeat the process. Slowly melting the candy melts helps it melt smooth and not burn.
-Now comes the fun (and messy part)! Line a plate or baking sheet with parchment paper. Use a fork to dip and coat your cake bites into the melted candy melts. You can use a spoon to make sure the whole cake bite gets coated. Let the extra candy melt drip off a bit before placing on the parchment paper to harden. Repeat this until all the cake bites are coated. You may need to melt more candy melts to coat all your cake bites, depending on how much you use while coating them.
-As you coat each cake bite and place them on the parchment paper. Be sure to add an eyeball candy decor to each one while the coating is still wet. This way the eyeball candy decor will stick firmly onto the cake bite as it hardens.
-Once the cake bites are coated, place in the refrigerator for about 10-15 minutes or until they all have a hard coating.
-Use red royal icing to make the eyes bloodshot!
-Enjoy! See the photos below to get more of an idea on how to put these together!
Crumble your cooled cake into a large bowl.
Add your frosting and use your hands to mix until a dough forms.
Use a scoop or tablespoon measure to make cake bites.
Use a double boiler to melt your candy melts!
Use a fork to dip and coat your cake bites.
Add a candy eyeball decor to each one while the coating is still wet.
Once the coating is hard, add red royal icing decor to create spooky bloodshot eyes!


